A short guide on how to trim clips without downloading more software.
Trimming a video to capture just enough of the lead-up, and a satisfying amount of footage after the play has been made, is an important part of creating a video that will capture the attention of someone scrolling through their feed. Here are two ways to shorten your clip easily, without diving down a rabbit hole of learning how to use a full featured video editor.
Option 1. Using Windows Photos
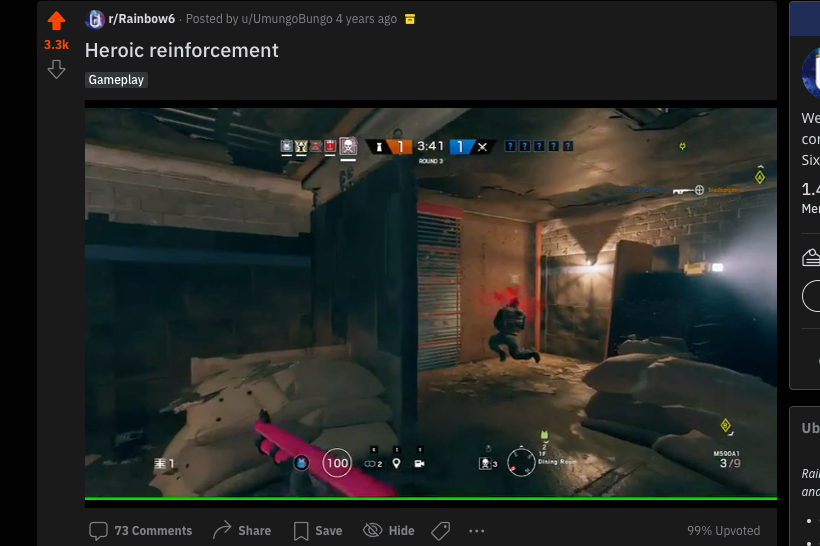
Surprsingly, Windows 10 includes the necessary software without needing further downloads. This is a great option if you want to be quick, and you aren't really looking to grow your Twitch or YouTube subscriber count. This is actually how I used to trim my clips - my goal was to share fun gameplay moments with the Rainbow 6 Reddit community, and I wasn't looking to gain followers through my social media accounts.
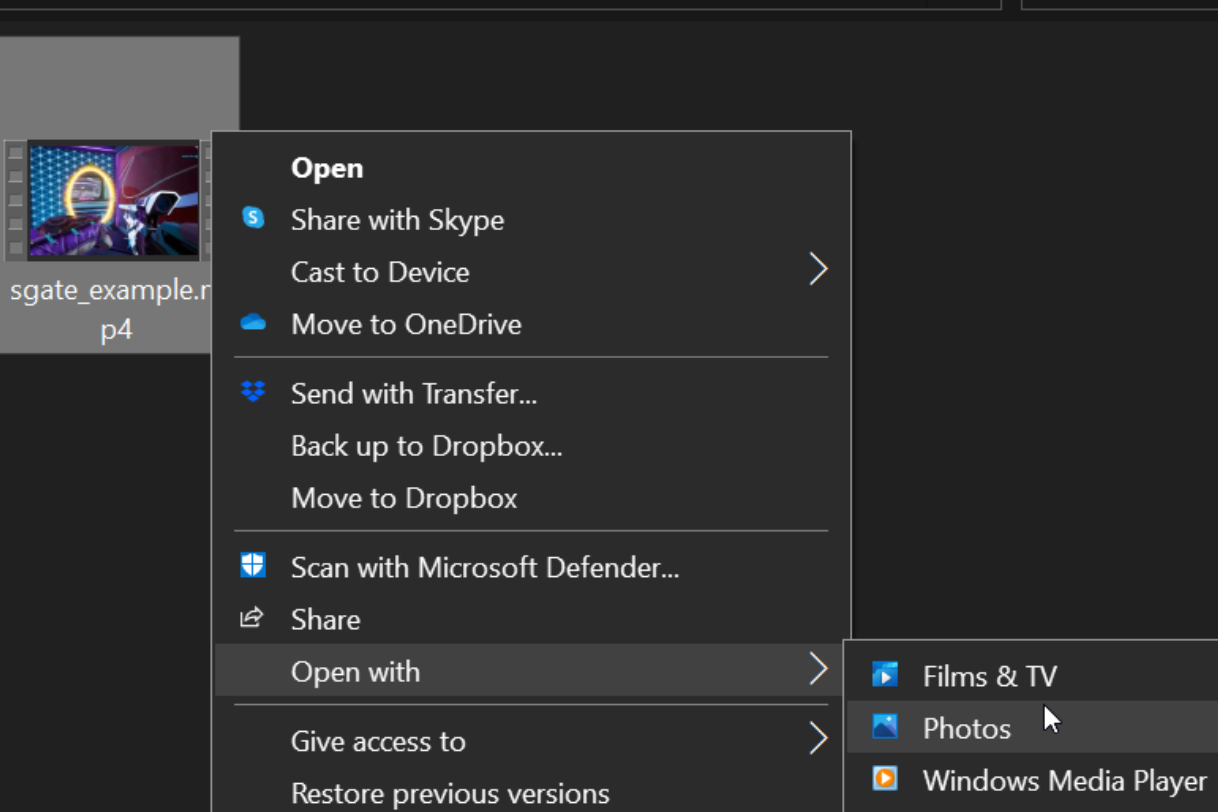
To begin, right click on the clip that you want to shorten, and select Open with. Then select Photos... 🤔 That's right, the Photos app is capable of editing videos.
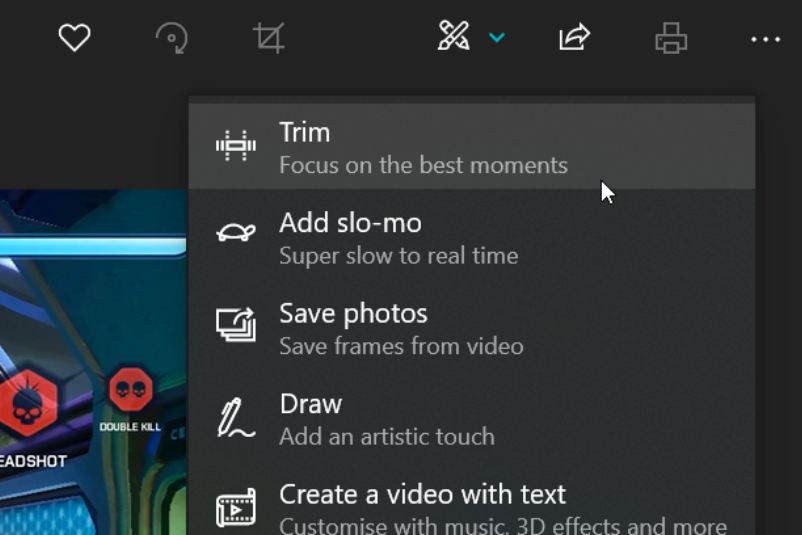
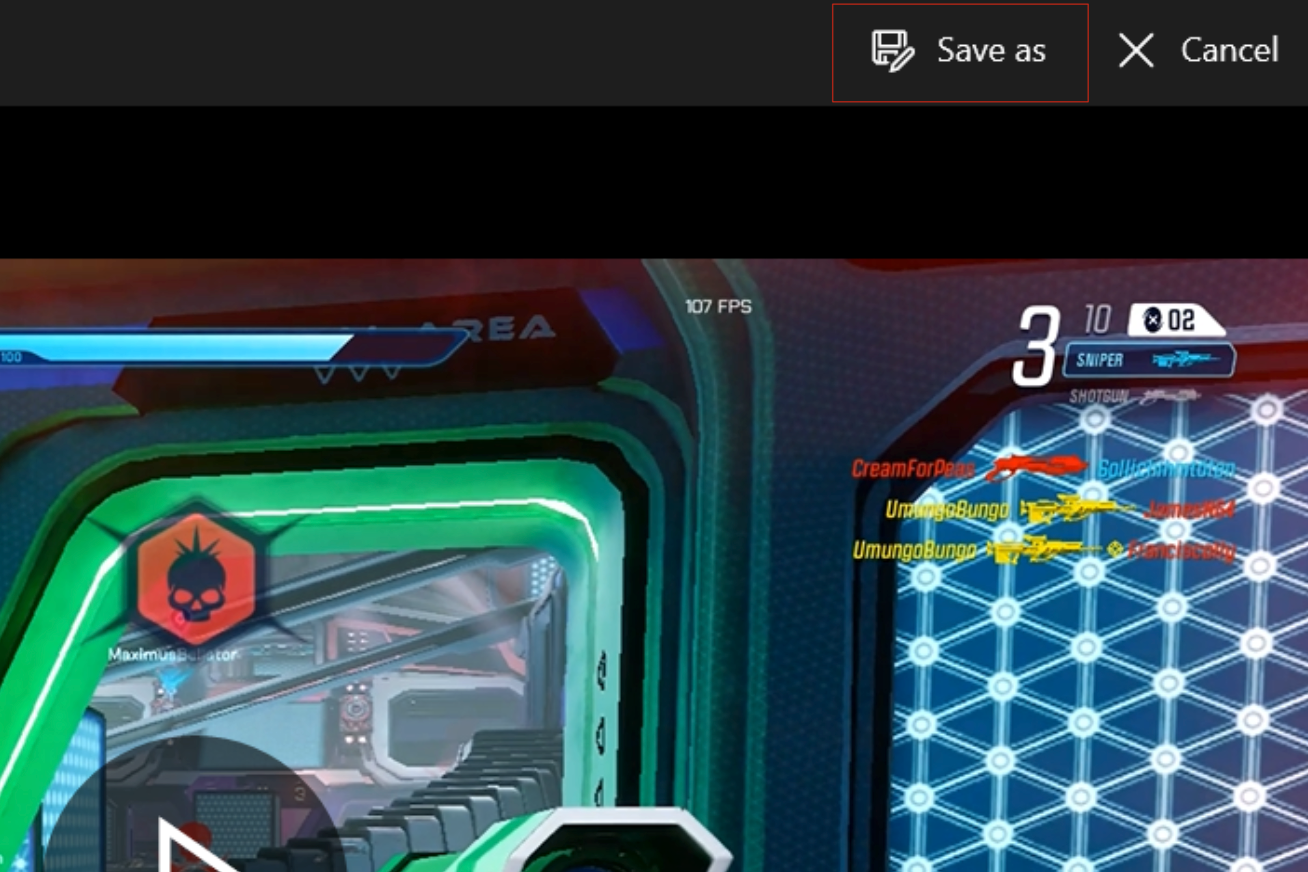
Next, click the edit button, and select Trim
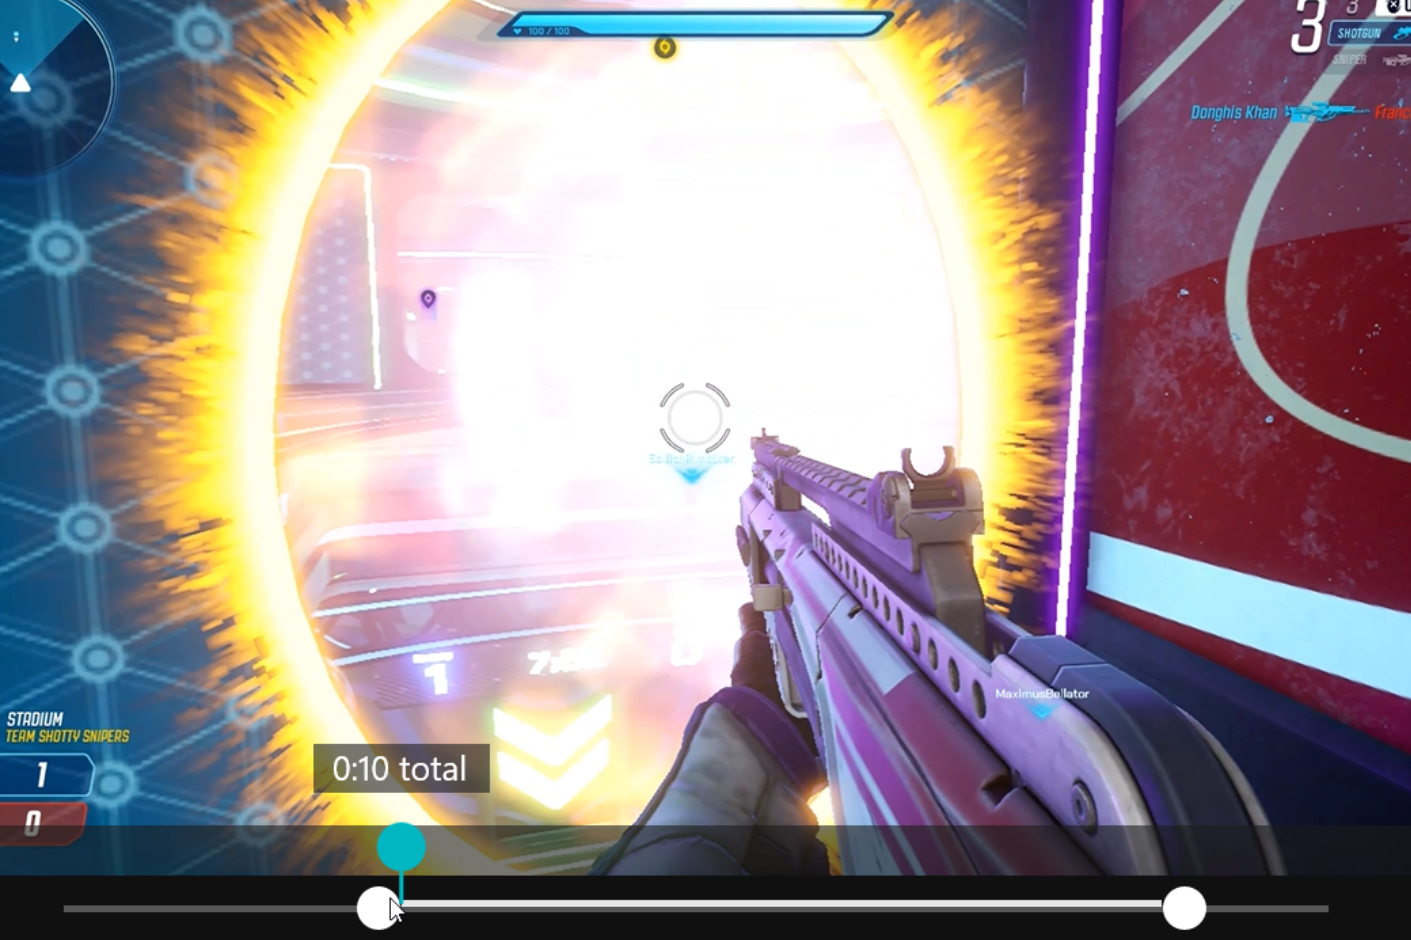
Move the sliders backwards and forwards to select where you want the clip to start and finish. 💡Protip make sure you include enough footage before the gameplay so that the viewer understands what you are up to!
The final step is to just click Save as. This will make a shorter copy of the original clip, so you don't have to worry about over-writing the original capture.
Done! But keep in mind if you are planning on posting this online - if someone posts your clip elsewhere, there is no guarantee that they will include attribution to you, and if you are trying to grow your audience, you could be missing out on new fans discovering you. If this is you - the editor within ThatWas.pro may be what you are looking for.
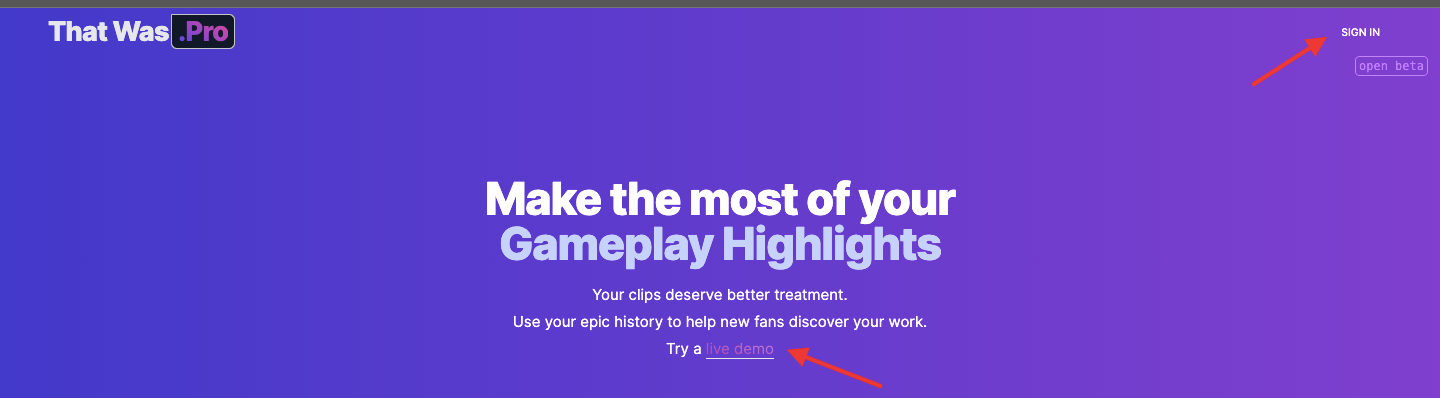
Option 2. Using thatwas.pro (any computer or phone)
To begin, head to the main page of thatwas.pro. Click on Live Demo or Sign In.
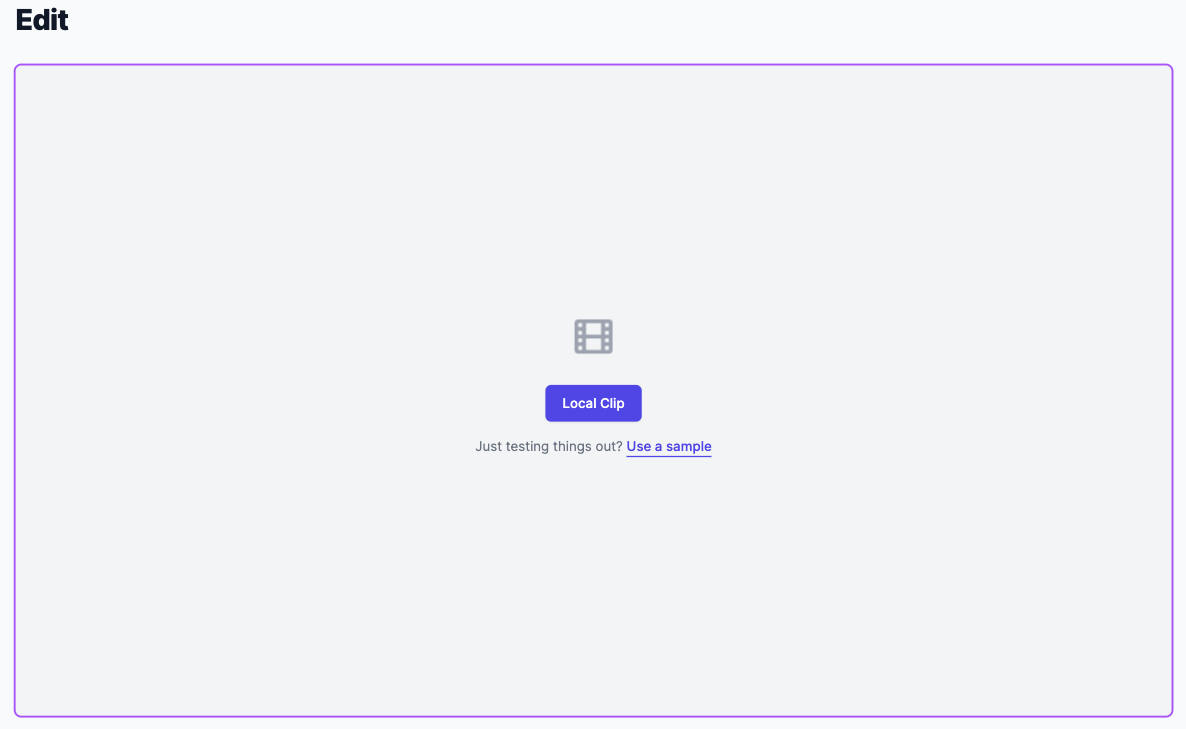
Click on the Local Clip button, and navigate to the clip you need to edit.
Next, click to toggle between Landscape and Portrait mode.
Under Edit, move the sliders around to select where to start the clip from, and where to end it.
Click Watermark to create a Watermark Label and select the Watermark Position. Optional - for those looking to grow their audience. If you have an account, select your connected Twitch or YouTube account that you are looking to promote. Otherwise, type in the details manually.
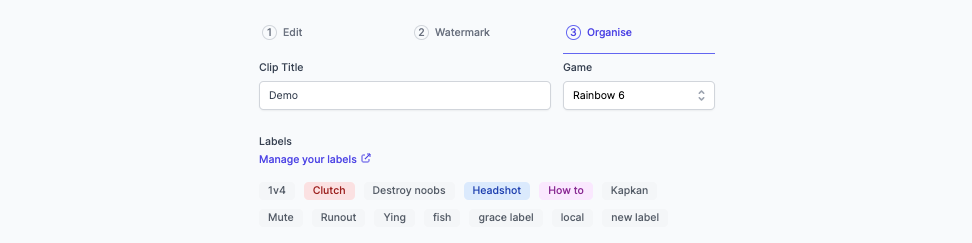
Finally, Organise your clips by giving the edit a Clip Title, entering the name of the Game and adding any additional Labels.
Choose to export Landscape and/or Portrait and hit Render Clips.
Download and share your clip to your social platforms.